Edge-to-Edge Printing Mastery: Achieving Borderless Funeral Programs at Home

For many families, creating a funeral program at home is both a practical decision and a deeply personal one. Printing the program yourself allows you to work on your own timeline, make last-minute changes, and remain closely involved in honoring your loved one’s memory. Yet one of the most common frustrations families encounter is the white border that appears around the edges of a printed page—an issue that can make a carefully designed program feel unfinished or less polished than intended.
Edge-to-edge, or borderless, printing is often associated with professional print shops, leading many to believe it cannot be achieved at home. In reality, borderless printing is possible on many home printers—but only when families understand how printers truly work, what limitations exist, and how to design and print with those constraints in mind.
This essay demystifies edge-to-edge printing for funeral programs. It explains what borderless printing really means, why it is challenging, and how families can achieve professional-looking results at home. More importantly, it helps families avoid common pitfalls that cause frustration, wasted paper, and emotional strain during an already difficult time.
Why Borderless Printing Matters for Funeral Programs
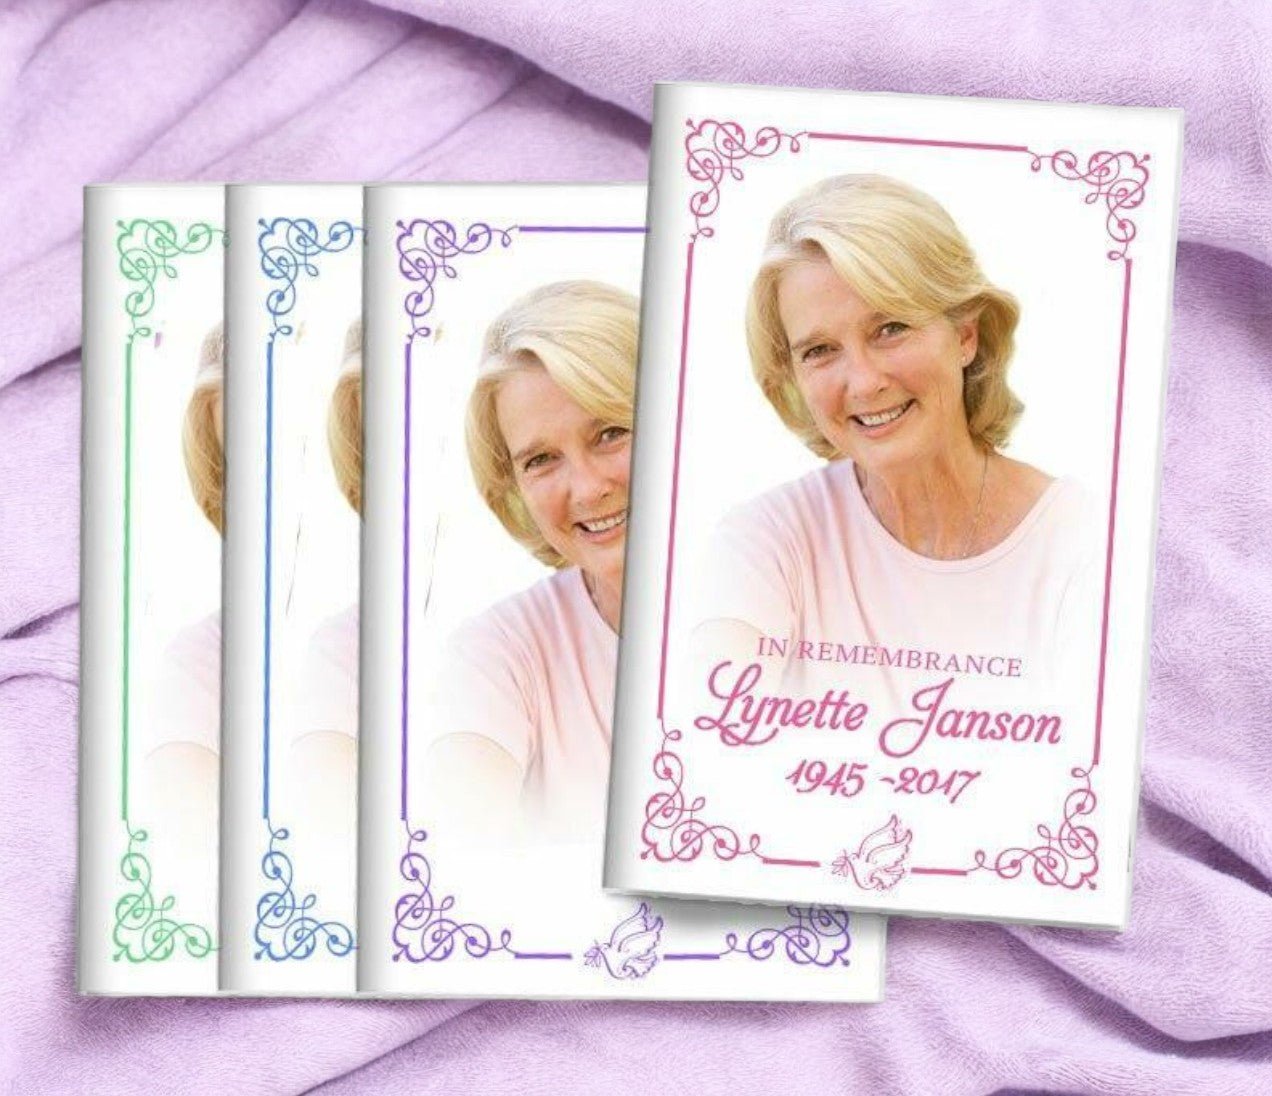
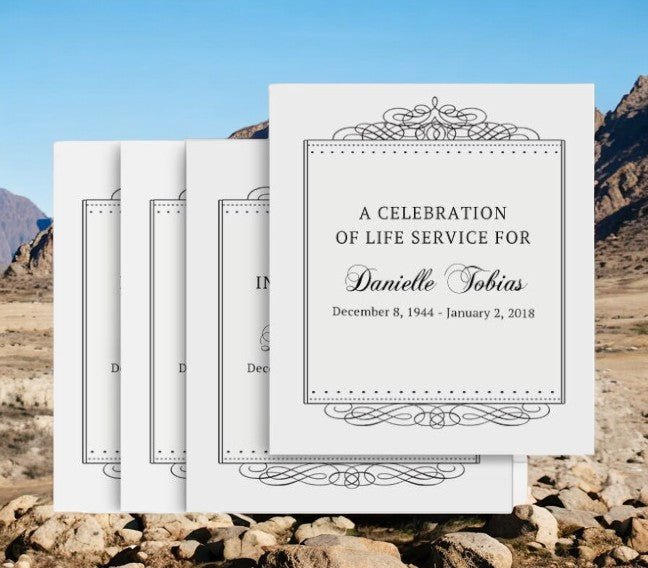
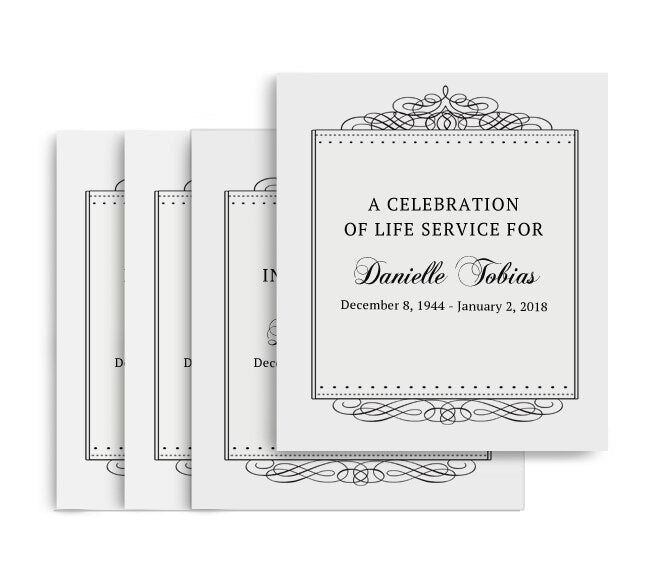
Funeral programs are not ordinary documents. They are keepsakes—objects that attendees often save for years. The visual presentation of a program shapes how it is perceived emotionally. A clean, polished layout communicates care, intention, and respect.
White borders are not inherently wrong. In fact, many professionally designed funeral programs intentionally include margins or frames. However, when a design is intended to go edge-to-edge and a border appears unexpectedly, it can feel like something went wrong. Families may worry the program looks amateur or rushed, even when the content itself is heartfelt and meaningful.
Understanding borderless printing empowers families to choose intentionally: either to achieve true edge-to-edge printing at home or to design in a way that makes borders feel purposeful rather than accidental.
What Edge-to-Edge Printing Really Means
Edge-to-edge printing refers to ink extending fully to all four edges of the paper, with no visible white margin. In professional printing, this is achieved by printing on oversized paper and trimming it down after printing.
Home printers do not trim paper. Instead, they rely on rollers and grippers to move paper through the machine. These mechanical components require a small unprintable area near the edges of the page, which is why most printers leave a white border by default.
When a home printer advertises “borderless printing,” it is using software workarounds rather than physical trimming. Understanding this distinction is key to mastering the process.
The Physical Limits of Home Printers
Most home printers—especially inkjet models—cannot physically print ink on the outermost edges of standard paper sizes. To simulate borderless printing, printers typically do one of the following:
-
Slightly enlarge the image so ink spills beyond the edges
-
Crop a small portion of the design to compensate
-
Restrict borderless printing to specific paper types
This means that true, perfect edge-to-edge accuracy is difficult to achieve consistently at home. However, with proper setup and design, results can be visually indistinguishable from professional printing.
Step One: Confirm Whether Your Printer Supports Borderless Printing
Not all printers support borderless printing. Before adjusting designs or settings, families must confirm whether their printer model includes this capability.
How to Check
-
Review the printer specifications on the manufacturer’s website
-
Look for “borderless printing” or “edge-to-edge printing” features
-
Check which paper sizes support borderless mode
Many printers support borderless printing only on photo paper sizes, such as 4×6 or 8.5×11 photo paper. Standard plain paper may not be eligible.
If a printer does not support borderless printing at all, no amount of settings adjustments will remove the white border. In these cases, design adaptation becomes the best solution.
Step Two: Choose the Right Paper
Paper choice plays a critical role in borderless printing success.
Photo Paper vs. Plain Paper
Most printers only allow borderless printing on photo paper. Photo paper is coated to absorb ink differently, allowing printers to push ink closer to the edge without smearing.
However, photo paper may not always be appropriate for funeral programs due to glare or texture preferences. Matte photo paper can be a workable compromise, offering borderless capability with a softer finish.
Cardstock Considerations
Very few home printers support borderless printing on heavy cardstock. Even when available, results can be inconsistent. Attempting borderless printing on unsupported cardstock often leads to:
-
Ink pooling at edges
-
Uneven color saturation
-
Paper jams
Families printing on cardstock may need to accept minimal borders or redesign layouts to accommodate them.
Step Three: Design With Bleed in Mind
Professional printers use “bleed” to ensure designs reach the edge after trimming. At home, bleed still matters—even without trimming.
What Is Bleed?
Bleed is extra design space beyond the final page size. For example, an 8.5×11 funeral program design may be created at 8.75×11.25, with important text kept safely inside margins.
When printing borderless at home, bleed helps compensate for slight enlargement or cropping that occurs during printing.
Key Design Rules
-
Extend background colors or images beyond the page edge
-
Keep text and important elements at least 0.25 inches from edges
-
Avoid placing faces or critical details near the border
This approach ensures that even if the printer crops slightly, the design still looks intentional.
Step Four: Printer Driver Settings Matter More Than You Think
Borderless printing success often depends more on printer software settings than on the design itself.
Essential Settings to Check
-
Paper size must match the design exactly
-
Borderless or “edge-to-edge” mode must be enabled
-
Scaling should be set to 100%, not “fit to page”
-
Image expansion or enlargement settings may need adjustment
Some printers allow users to control how much the image is enlarged to achieve borderless results. Testing different settings can reduce unwanted cropping.
Step Five: Always Print a Test Page
Test printing is not optional—it is essential. Families should always print at least one test copy before printing the full batch.
A test print reveals:
-
Whether borders appear
-
If any content is cropped
-
How colors look on the chosen paper
-
Whether ink smears or pools
Printing a test copy saves time, paper, and emotional energy.
Common Pitfalls Families Encounter
Even with preparation, certain issues arise frequently.
Unexpected Cropping
Borderless printing often enlarges the design slightly, cutting off edges. This is why bleed and safe margins are critical.
Printer Overrides
Some printers ignore user settings and revert to default margins. Rechecking settings before each print session is necessary.
Ink Saturation Issues
Heavy ink coverage near edges can cause smearing, especially on plain paper. Allowing prints to dry fully before stacking helps prevent damage.
Inconsistent Results Between Prints
Borderless printing may vary slightly from page to page. Printing programs one at a time rather than in large stacks can improve consistency.
When Borders Are the Better Choice
It is important to acknowledge that borderless printing is not always the best option. A thoughtfully designed program with intentional margins can look just as professional—sometimes more so—than a forced edge-to-edge print.
Many professionally designed funeral programs intentionally include borders, frames, or white space to enhance readability and elegance.
Families working with The Funeral Program Site often discover that professional layouts account for home-printing realities, ensuring programs look polished whether printed locally or professionally.
Designing for Grace Under Constraint
True mastery of DIY funeral program printing is not about defeating printer limitations—it is about working with them gracefully.
A program that prints cleanly, folds neatly, and feels intentional will always be more meaningful than one that chases perfection at the cost of frustration.
Design choices such as:
-
Soft borders
-
Light background frames
-
Centered layouts
can transform unavoidable margins into elegant features rather than flaws.
Emotional Considerations: Reducing Stress During Grief
Technical challenges can feel disproportionately overwhelming during grief. A printer malfunction or unexpected border can trigger frustration, tears, or self-doubt.
Understanding that these challenges are mechanical—not personal—helps families approach the task with patience and self-compassion.
Many families choose to combine DIY printing with professional support. The Funeral Program Site, for example, offers template design services that ensure layouts are optimized for both home and professional printing, allowing families to maintain control without carrying the full technical burden.
A Balanced Approach: DIY With Confidence
Edge-to-edge printing at home is achievable, but it requires realistic expectations, thoughtful design, and careful setup. Families who understand the process are empowered to choose the path that best suits their needs—whether that means true borderless printing, intentional margins, or a hybrid approach.
The goal is not technical perfection. The goal is dignity, clarity, and care.
A funeral program does not honor a life because it reaches the edge of the page—it honors a life because it reflects love, intention, and remembrance.
Final Reflection: Polished Programs, Meaningful Tributes
Mastering edge-to-edge printing at home gives families confidence during a time when so much feels uncertain. It transforms a frustrating mystery into a manageable process and replaces anxiety with informed choice.
Whether you achieve full borderless printing or design intentionally within printer limits, what matters most is that your funeral program feels complete, respectful, and true to the person it honors.
With understanding, preparation, and compassion for yourself, DIY funeral programs can look polished, feel heartfelt, and stand as lasting tributes—created not by machines, but by love.