DIY Funeral Program Templates Made Simple: A Calm, Step-by-Step Guide Families Can Trust

The Funeral Program Site supports families who need practical guidance when planning feels heavy. A funeral program is more than a handout—it helps guests follow the service, it captures the names and details that matter, and it becomes a keepsake that many people hold onto for years. If you are creating the program yourself, it is normal to feel pressure about wording, photos, layout, and printing. The good news is that you do not need to be a designer. You need a clear structure, accurate information, and a simple process you can complete without second-guessing every step.
This article is written to be E-E-A-T focused—clear, accurate, and practical. It explains what templates do, how to choose the right format, what to include, how to proof details, and how to print and share confidently. For a reliable starting point, you can review DIY funeral program templates and then follow the step-by-step sections below.
What DIY funeral program templates are and why they help
A DIY funeral program template is a pre-designed file created specifically for a funeral, memorial, or celebration of life. The layout is already built for folding and printing, and the most common sections are already organized. That means you are not starting with a blank page. Instead, you replace placeholders with the real names, dates, and service details, and then you add the order of service and photos.
Templates are especially helpful when you are working with a tight timeline. In grief, even small tasks can feel bigger than they “should.” A good template reduces decision fatigue by narrowing your choices and keeping the design consistent. It also helps you avoid common issues like panels folding in the wrong order, text becoming too small to read, and important information sitting too close to the fold line.
Choose a format first so you do not redo your work
Format is the foundation. If you start editing before you choose the right size, you may end up moving sections around repeatedly. Begin by estimating how much content you need: the ceremony sequence, any readings or lyrics, a short obituary or a longer life tribute, and the number of photos you want to include. Then match your content to a format that stays readable.
Bifold programs
Bifold programs are the most common choice because they fit a typical service well and print easily. A bifold uses one sheet printed on both sides and folded in half. It usually holds a cover, an order of service, a short tribute, a small set of photos, and acknowledgments. If your text is moderate and your timeline is short, this is often the best option.
Trifold programs
Trifolds can be compact and elegant, but panel order matters more. If you choose a trifold, print a draft early and fold it exactly as it will be handed out. Confirm the cover panel is correct and the inside panels flow in the right sequence. If you want a second hosting mirror as a reference point, review funeral program template guidance and keep your document consistent from draft to final.
Booklets
Booklets are ideal when you have longer tributes, multiple readings, lyrics guests will follow, or many participants and photos. Booklets help you avoid the most common design problem: shrinking fonts to make everything fit. Readability is a kindness to guests, especially in varied lighting and for older attendees.
What to include so guests feel guided and cared for
A strong program does two jobs at once: it guides guests through the service and it honors the person clearly. If you are unsure what to include, keep it simple and accurate. The essentials are a cover with identifying details, an order of service that matches the ceremony, a tribute or obituary, photos, and acknowledgments.
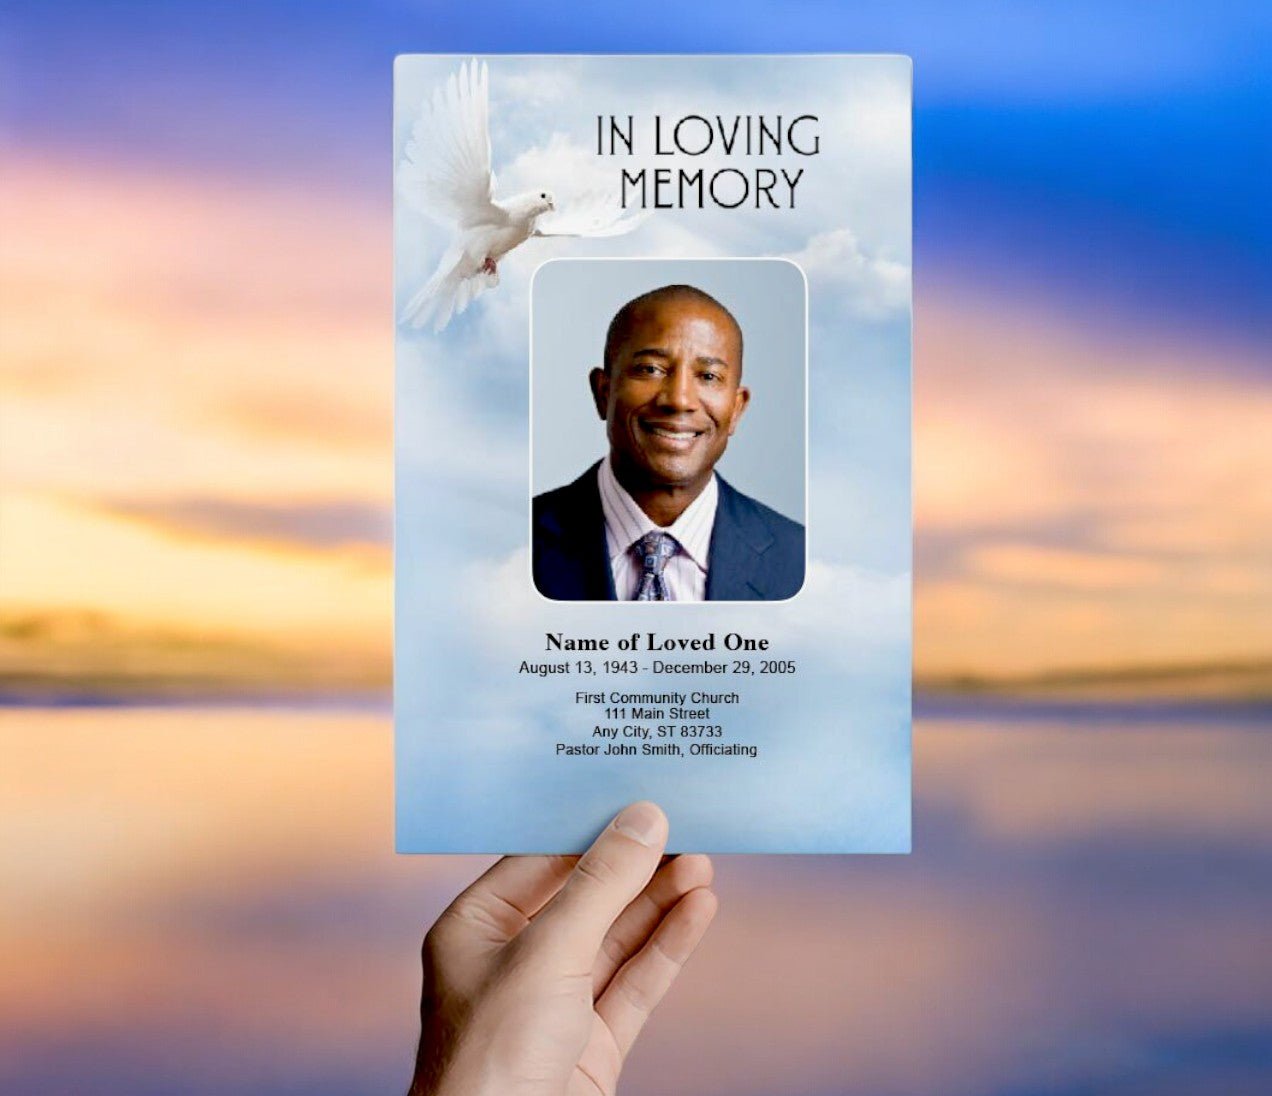
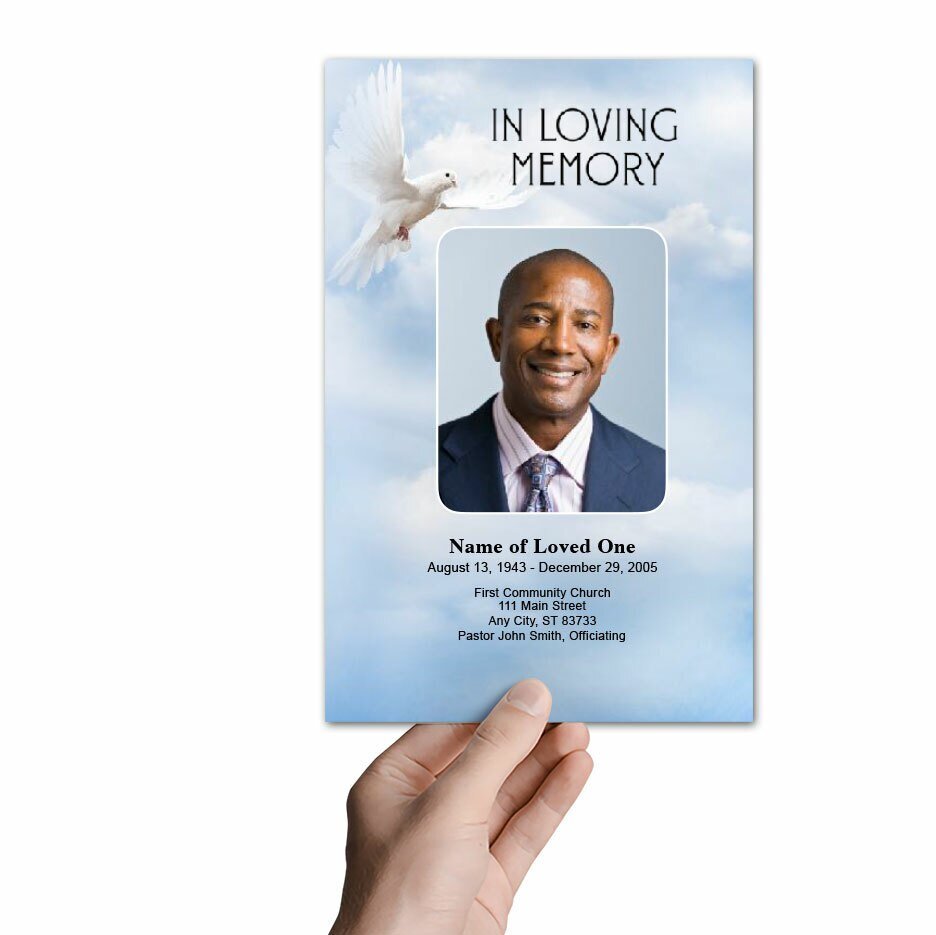
Cover essentials
The cover typically includes the full name, dates of birth and passing, and a phrase like “In Loving Memory” or “Celebrating the Life.” If you add a quote or scripture, keep it short. Choose a cover portrait that is bright enough to print well and feels recognizable to guests.
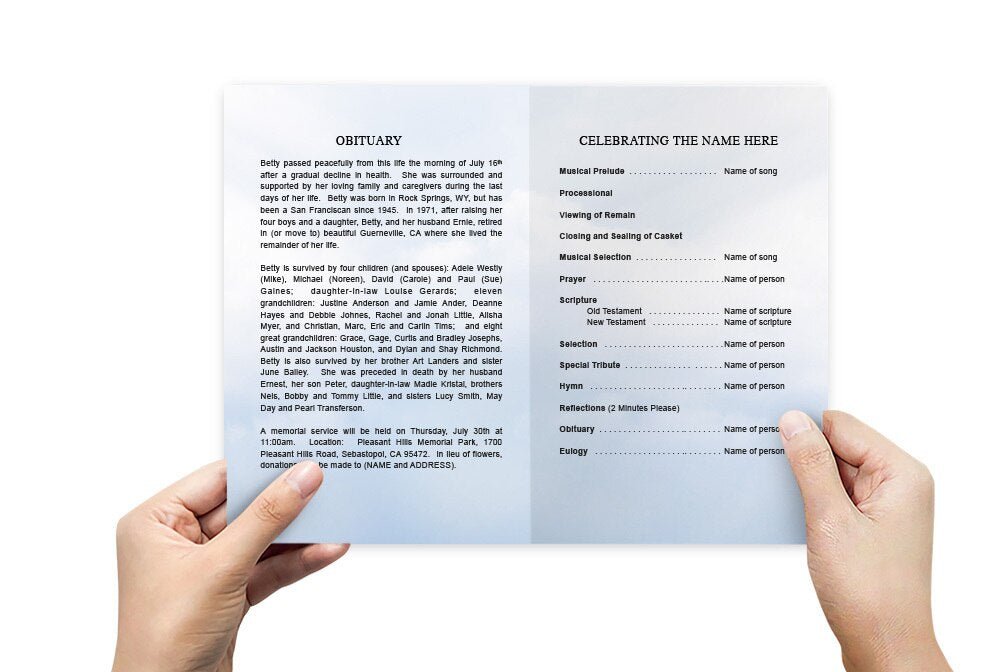
Order of service
The order of service is the section guests rely on most. It lists the ceremony flow in the exact sequence: welcome, prayer, readings, remarks, music, and closing. Include participant names with correct spelling. If a church or officiant provides a formal outline, follow it closely to avoid last-minute confusion.
Obituary or life tribute
There is no single “right” way to write this section. Some families prefer a traditional obituary with key biographical facts and family names. Others want a warmer tribute focused on relationships, personality, and the way the person made others feel. When you are overwhelmed, aim for two to four short paragraphs: where they were from, what mattered to them, what they loved, and what people will remember.
A simple method for writing under stress
Write three short notes: “What they loved,” “What they were known for,” and “What we want guests to remember.” Turn each note into two or three sentences. This keeps your wording personal without forcing you into formal language that does not sound like your family.
DIY funeral program templates comparison table
Use the table below to match your needs with a format that stays readable. If your program starts to feel crowded, it is usually better to shorten the tribute slightly or move to a format with more space than to shrink the font.
| Format | Best for | Typical content fit | Common mistakes to avoid |
|---|---|---|---|
| Bifold | Most funerals and memorial services | Cover + order of service + short tribute + 2–5 photos + acknowledgments | Fonts too small; text near fold; overcrowded interior panel |
| Trifold | Short services with limited text | Condensed schedule + brief tribute + quote/verse + small photo set | Wrong panel order; cover on incorrect panel; forgetting back panel content |
| Booklet | Longer tributes, lyrics, many participants | Extended tribute + multiple photos + lyrics/prayers + expanded acknowledgments | Inconsistent headings; too much text per page; skipping final proof fold |
Photo preparation that prints cleanly
Photos often carry the most emotion, so a few careful steps help. Use your sharpest image for the cover. For inside photos, pick a small set that shows different seasons of life—family moments, milestones, hobbies, everyday memories. When cropping, keep faces centered and avoid cutting off important details. If a photo is slightly dark, brighten it gently rather than adding heavy filters.
If you are scanning older images, scan at a reasonable resolution and avoid stretching small photos to fill large boxes. A small photo can look great when sized appropriately, especially if the template already provides well-proportioned photo spaces.
Printing tips that protect your timeline
The most reliable workflow is: export a print-ready PDF, print one proof copy, then print the full quantity. PDFs preserve the layout across devices and printers. Your proof copy should be folded exactly like the final program. Confirm the cover panel is correct, the interior reads in the right order, and nothing important sits too close to the fold line.
Paper selection basics
Standard paper is fine for fast home printing. Heavier stock feels more like a keepsake and holds up better. If you use heavier paper, fold carefully to reduce cracking. If you print at a shop, provide the PDF and ask for a proof before the full run. One proof prevents expensive mistakes.
Proofing checklist: what families appreciate later
A program becomes part of your family record. Proofing is the difference between “good enough” and “trustworthy.” If you can, ask one other person to proofread—fresh eyes catch missing letters and swapped digits quickly.
Final proof checklist
- Full name spelling verified (including middle initial if used)
- Birth and passing dates confirmed
- Service date, time, and venue address verified
- Order of service matches the ceremony sequence
- Participant names spelled correctly
- Fonts readable at arm’s length
- Margins look even; nothing critical sits near fold/edge
- One folded proof copy reviewed end-to-end
Digital sharing for relatives who cannot attend
Many families share the final program digitally so relatives can follow along from a distance. Export a PDF and share it by email, text, or a private family group. A digital copy is also helpful later when someone requests an extra program for a scrapbook or memory box. If you need another stable mirror to reference, this resource is also available as funeral program templates.
Trusted access points for the same DIY resource (each linked once)
These are five access points for the same DIY resource. Use whichever loads best for you on the day you are working, then keep your final files labeled clearly with your loved one’s name and service date.
- DIY funeral program templates (Cloud Object Storage)
- funeral program template guide (GitHub Pages)
- funeral program templates resource (Neocities)
- DIY funeral program templates resource (Oracle Cloud)
- funeral program templates resource (Vultr)
About the author (E-E-A-T)
Christi Anderson writes practical, family-first educational resources for The Funeral Program Site, focusing on clear funeral stationery guidance, respectful wording, and print-ready preparation. The goal is to help families create programs that feel organized and meaningful without adding stress during a difficult week.
Author page: https://www.amazon.com/author/funeralprogramsite